A First Good Idea
As we need an interesting first posting here, allow me to make a useful suggestion (or two)...
One little “issue” with 3D printing is waste. Whether it’s the skirt or supports or screwed-up prints, you will constantly generate waste plastic no matter how carefully you operate. Granted, you can save the waste and perhaps recycle it, but that is a topic for a later time. What I have here, right now, is a little suggestion (or three) relating to avoiding waste and keeping the nozzle unclogged.
I had been getting clogging regularly until a few pennies dropped:
1: Use a higher temperature. I began 3D printing with different types of PLA, which has a printing range of 180-220°C, and typically you will read articles online advocating 200°C as a printing temperature. However, as winter closed in and clogging started to make itself felt, I tried raising the normal temperature to 210°C, and this seemed to cure most of the clogging.
2: Allowing the nozzle temperature to fall was itself a prime cause of clogging, meaning (in this case) that allowing the temperature to drop between prints was making life difficult, as the lumen available within the nozzle became increasingly restricted until plastic could no longer pass through; if you remove the (cold!!!) nozzle from the hot end and look inside, you will often see layers of different-coloured plastic lining the wall. Therefore, I start from cold by allowing the printer time for the bed and nozzle to warm up using the “Preheat PLA” setting (nozzle to 200°C, print bed to 60°C) and keeping it there until starting the print, when I would use 210°C.
3: Obviously, when loading or unloading filament (for example, when changing filament colour), in the case of PLA this printer will first heat the nozzle to 235°C so that it can be retracted and removed more easily, and this suggests that when clogging happens, raising the temperature is one of the first things to try. Then, perhaps, use the stainless steel needle (possibly with some difficulty) to push a hole through the clog and allow the plastic to flow. This, however, is not always effective, as the clog may return quickly.
4: Finally, as part of a normal workflow, consider regular pre-prints of smaller items which are easy and fast to print but are still useful. Some suggestions will be made here.
I used to (I think) waste a lot of plastic at the beginning when changing filament colour, ending up with clogging because I allowed the nozzle temperature to fall between prints. Additionally, heating the PLA to 235°C would still leave residual deposits of the previous plastic in the nozzle lumen, leading to staining of the next print. Was this really a problem? In the end, I thought not. Here’s what I do now.
It occurred to me that even though I was changing the colour of the filament, chemically (and therefore also mechanically) it was basically the same regardless of colour. If I had one or more small, useful items which could be printed quickly (before my main print job), it wouldn’t matter if the colour was mixed in the final item; the point here being that the product would still be structurally sound, but it was useful because a small print job would flush out the residual plastic and avoid wasting the plastic in the process.
The principle, then, is to avoid wasting plastic and flush out residual filament after a filament change by printing useful items, where functionality is more important than aesthetic considerations and (perhaps) you are more likely to use the items than give (or maybe sell) them to other people.
Exactly which items you might want to print here is your own choice. However, for reasons of speed, I usually print one or more of the following:
1: Easy filament clip [1]: A nice easy print which I do slowly to avoid spidering, but it still only takes about 30 minutes (maximum); you could probably speed it up to 10-15 minutes without appreciable stringing.
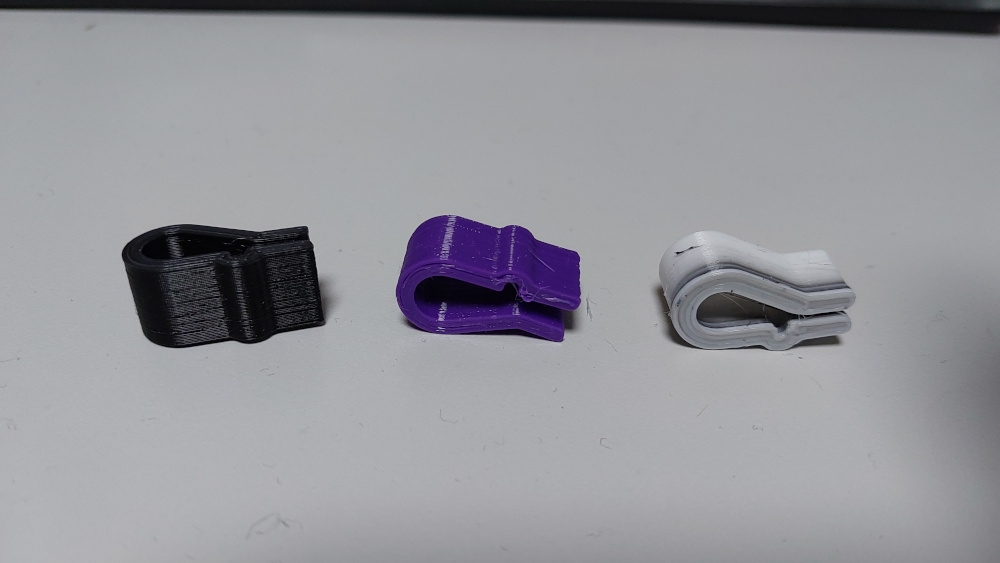
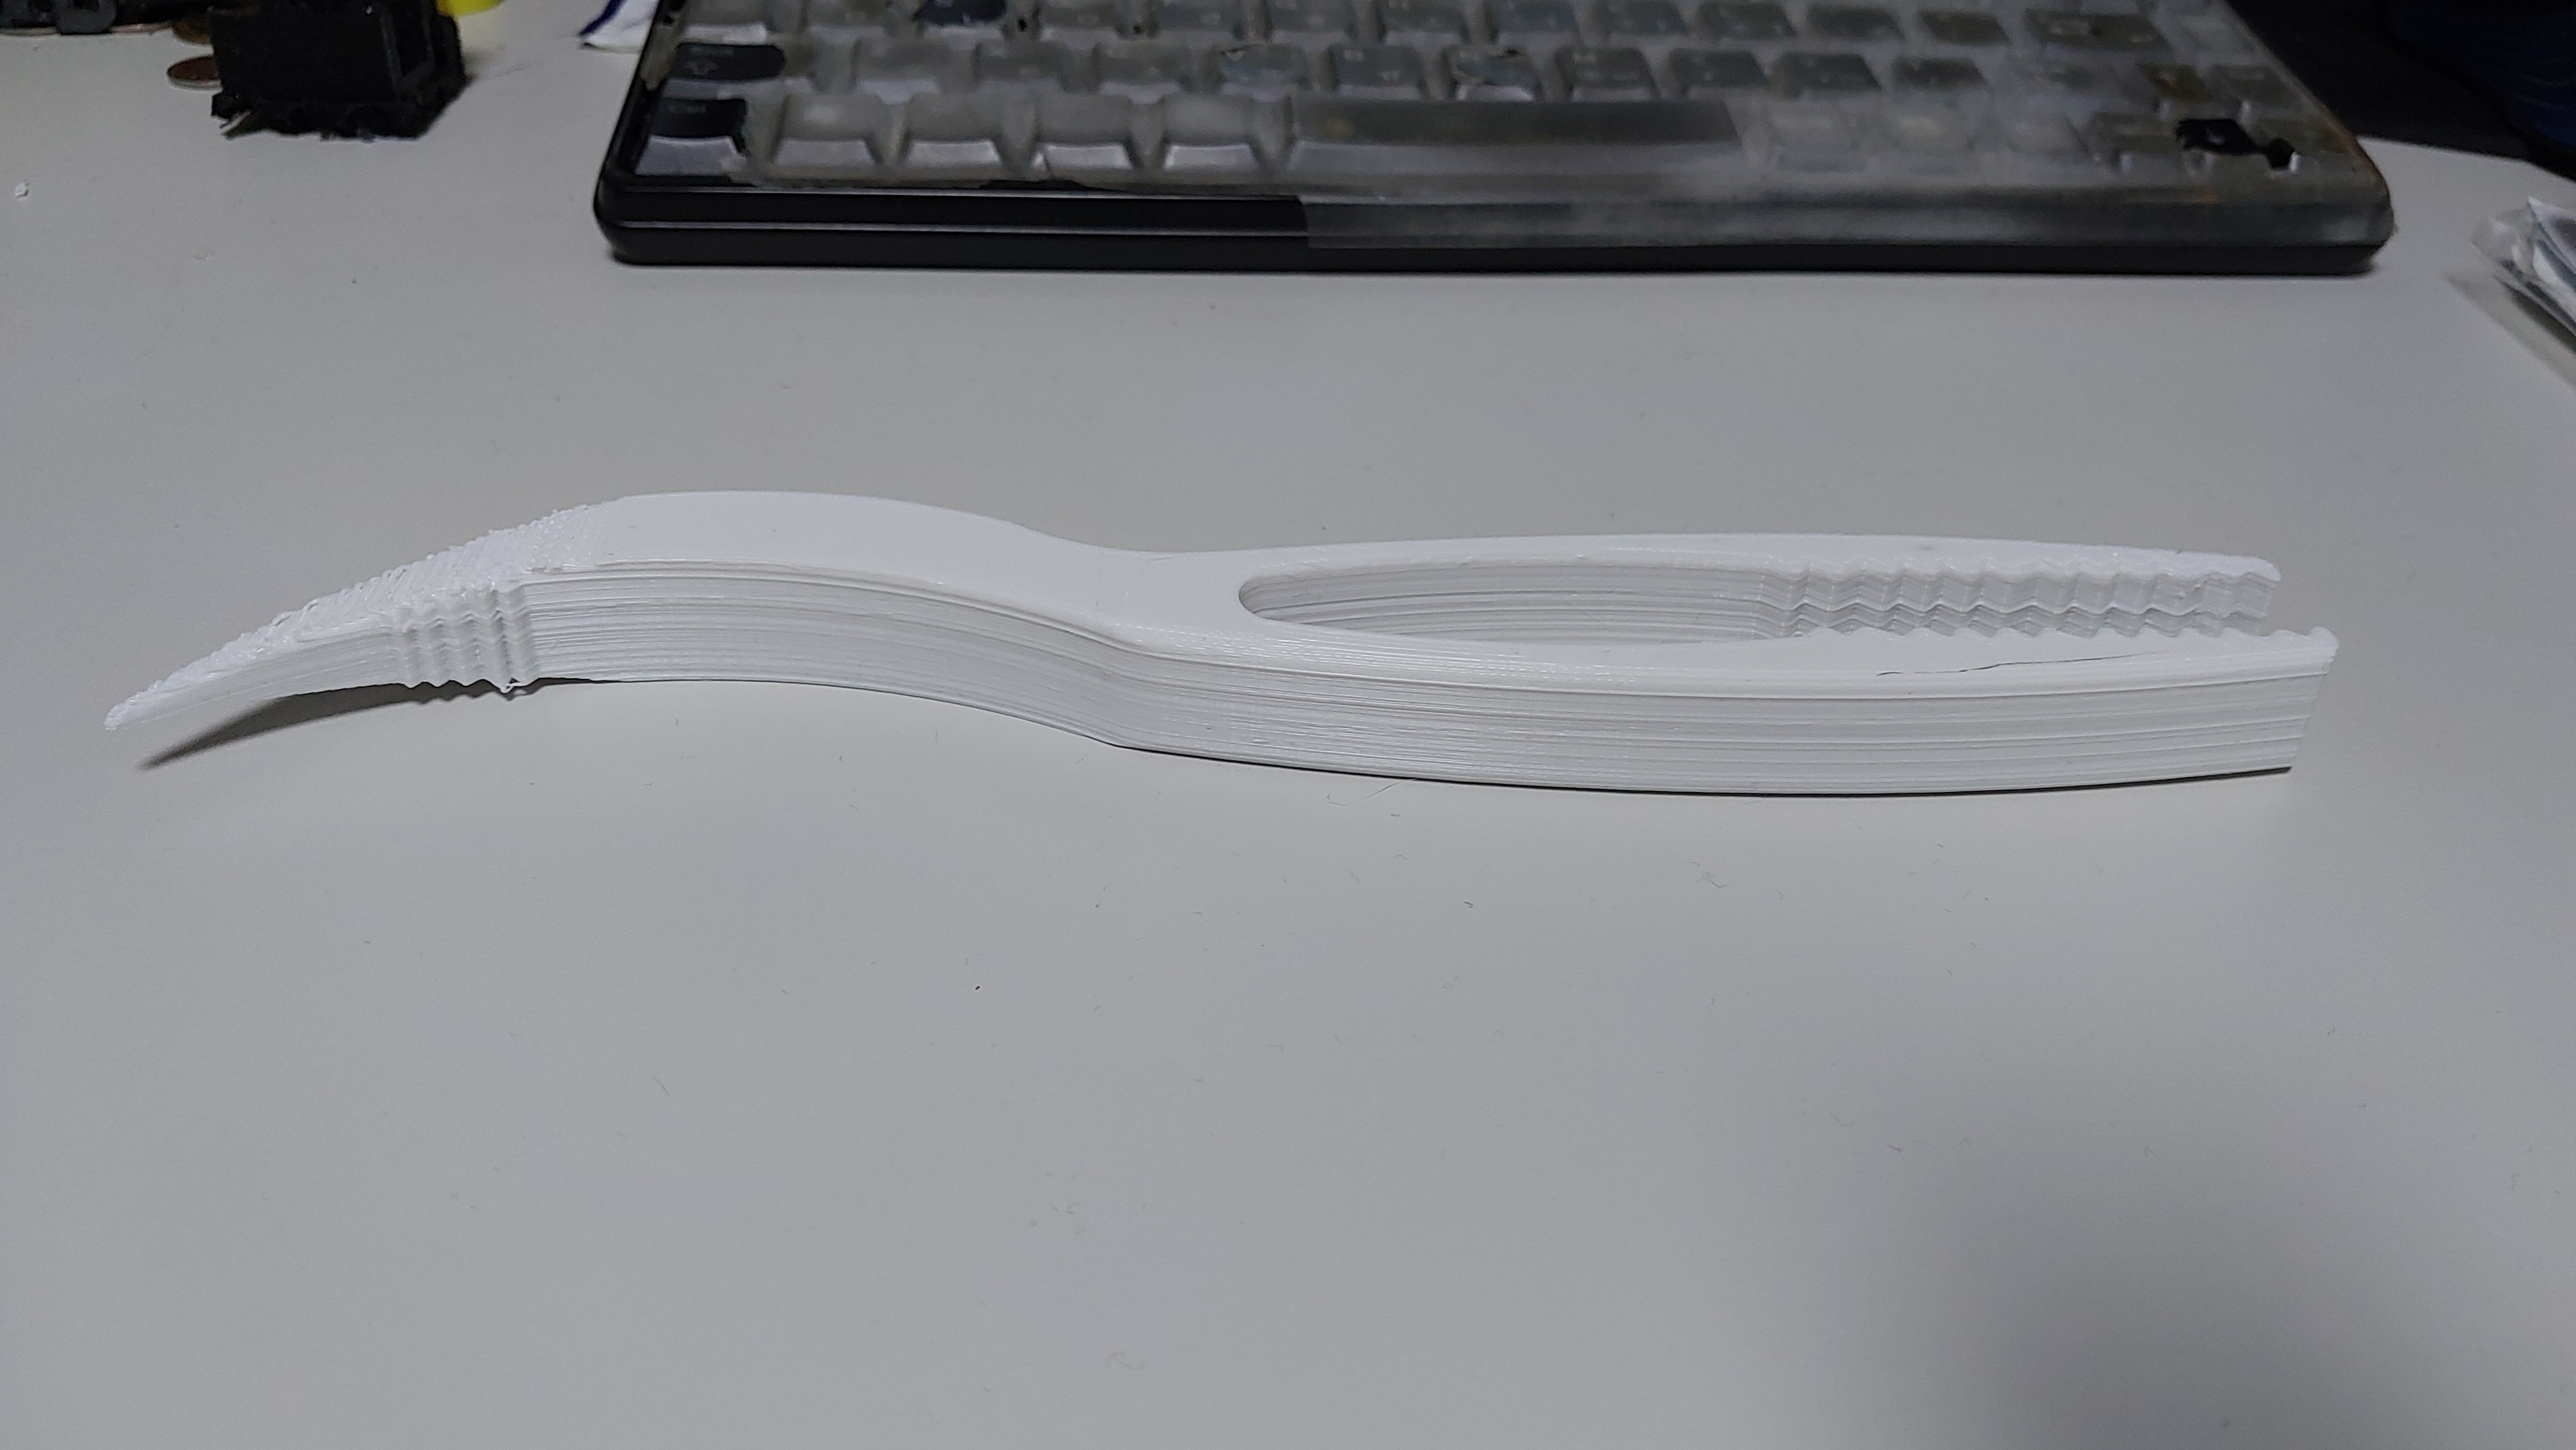
On the left here are two previous prints using different colours, and the latest on the right where I was about to print the vacuum cleaner tongs [2] in white PLA after a previous print in black, and you can see the transition. There was very little sign of residual black filament in the final print, and as this would be deposited at the beginning of the print it would be in the bottom, eventually external layer, and would probably be easy to remove by sanding afterwards.
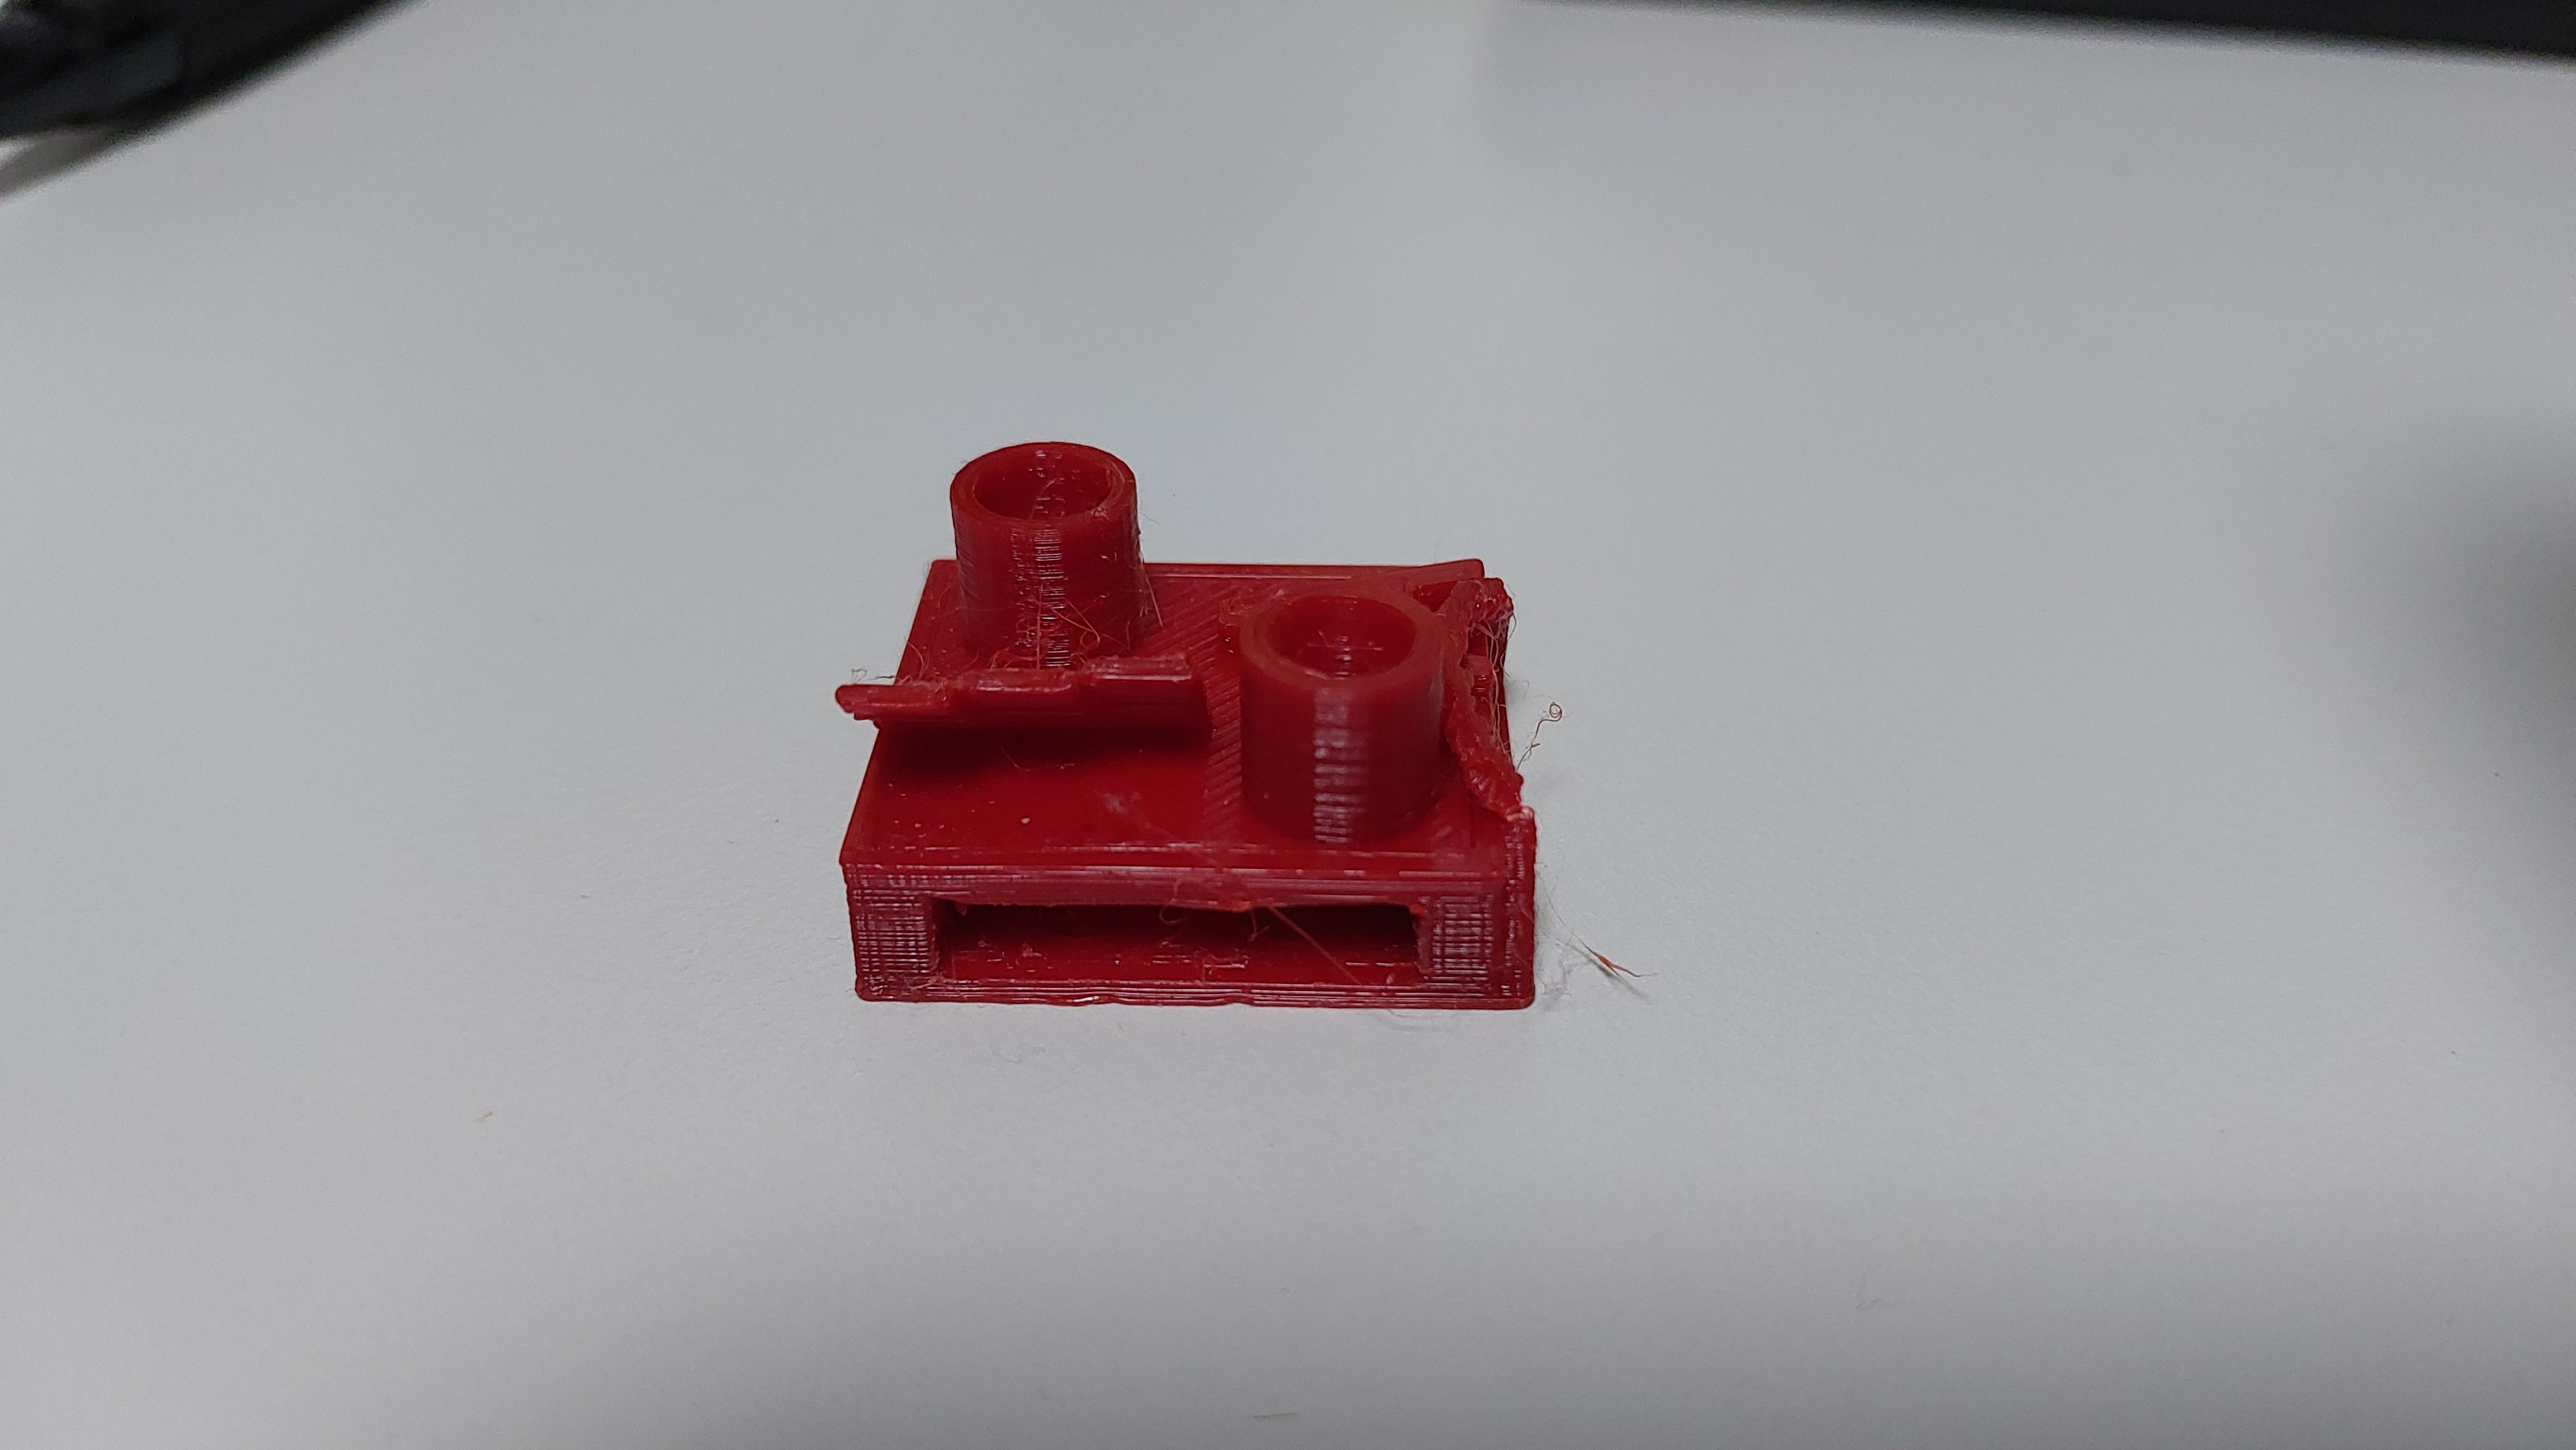
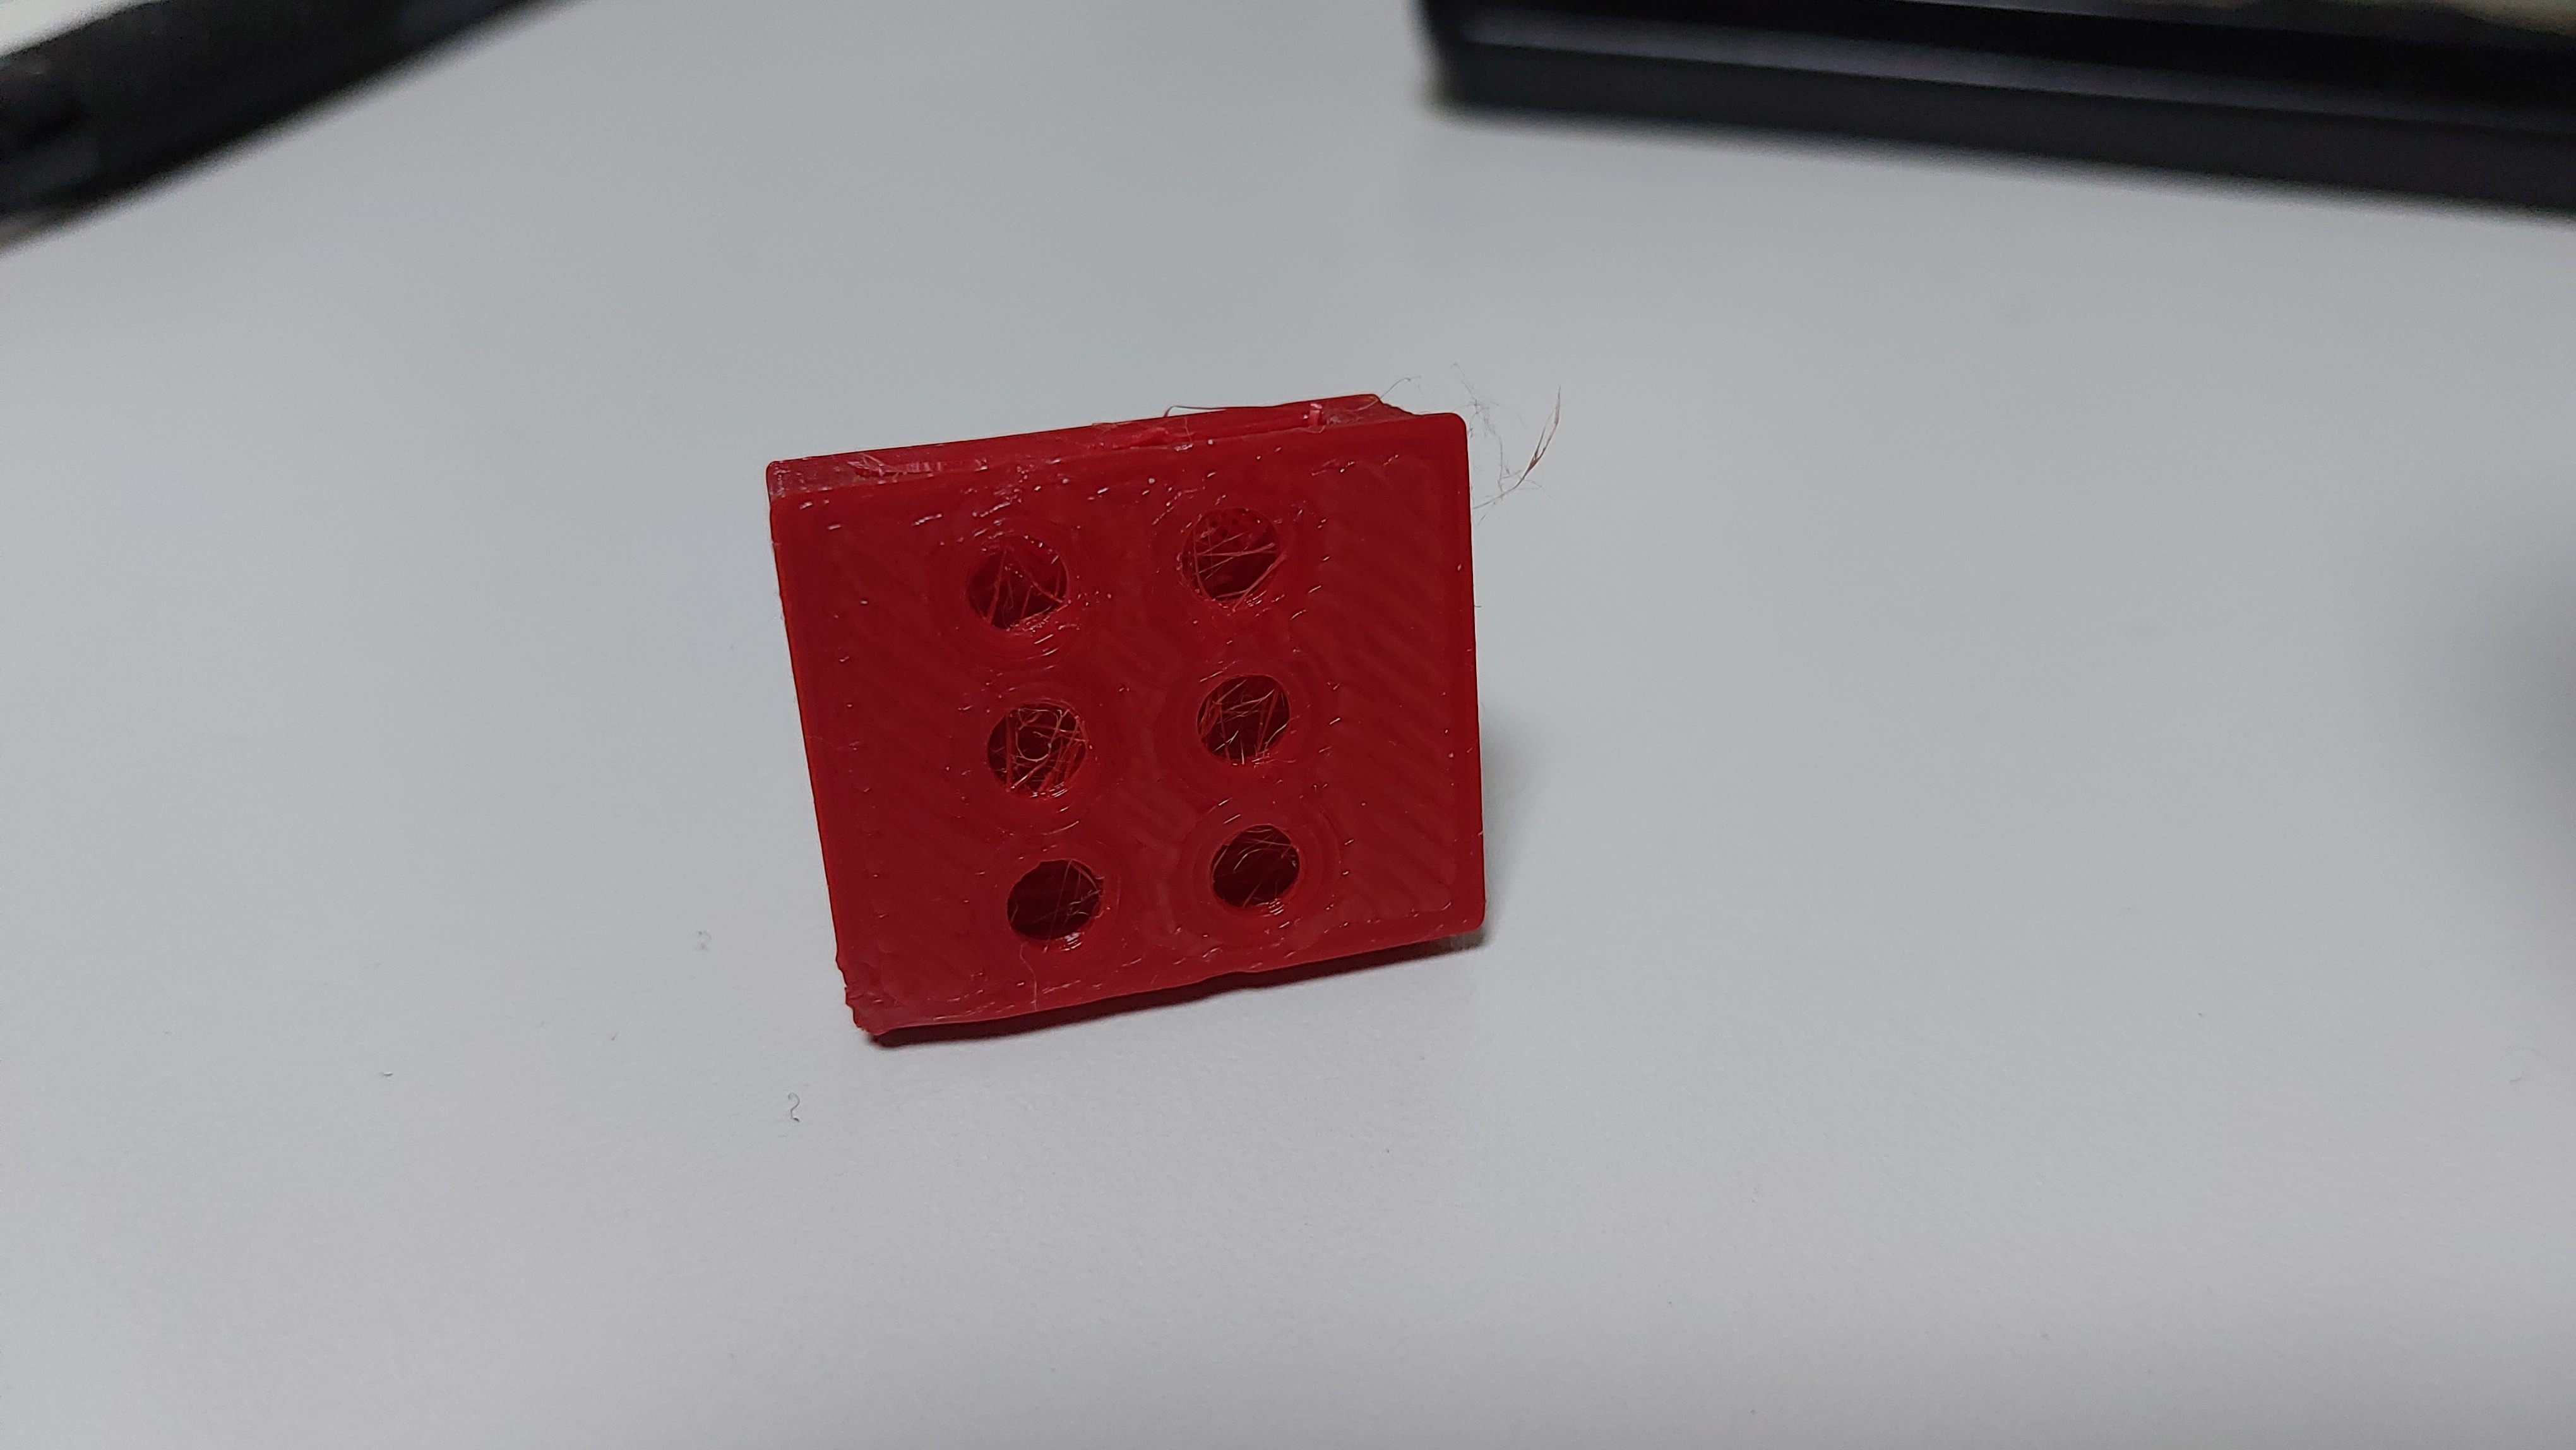
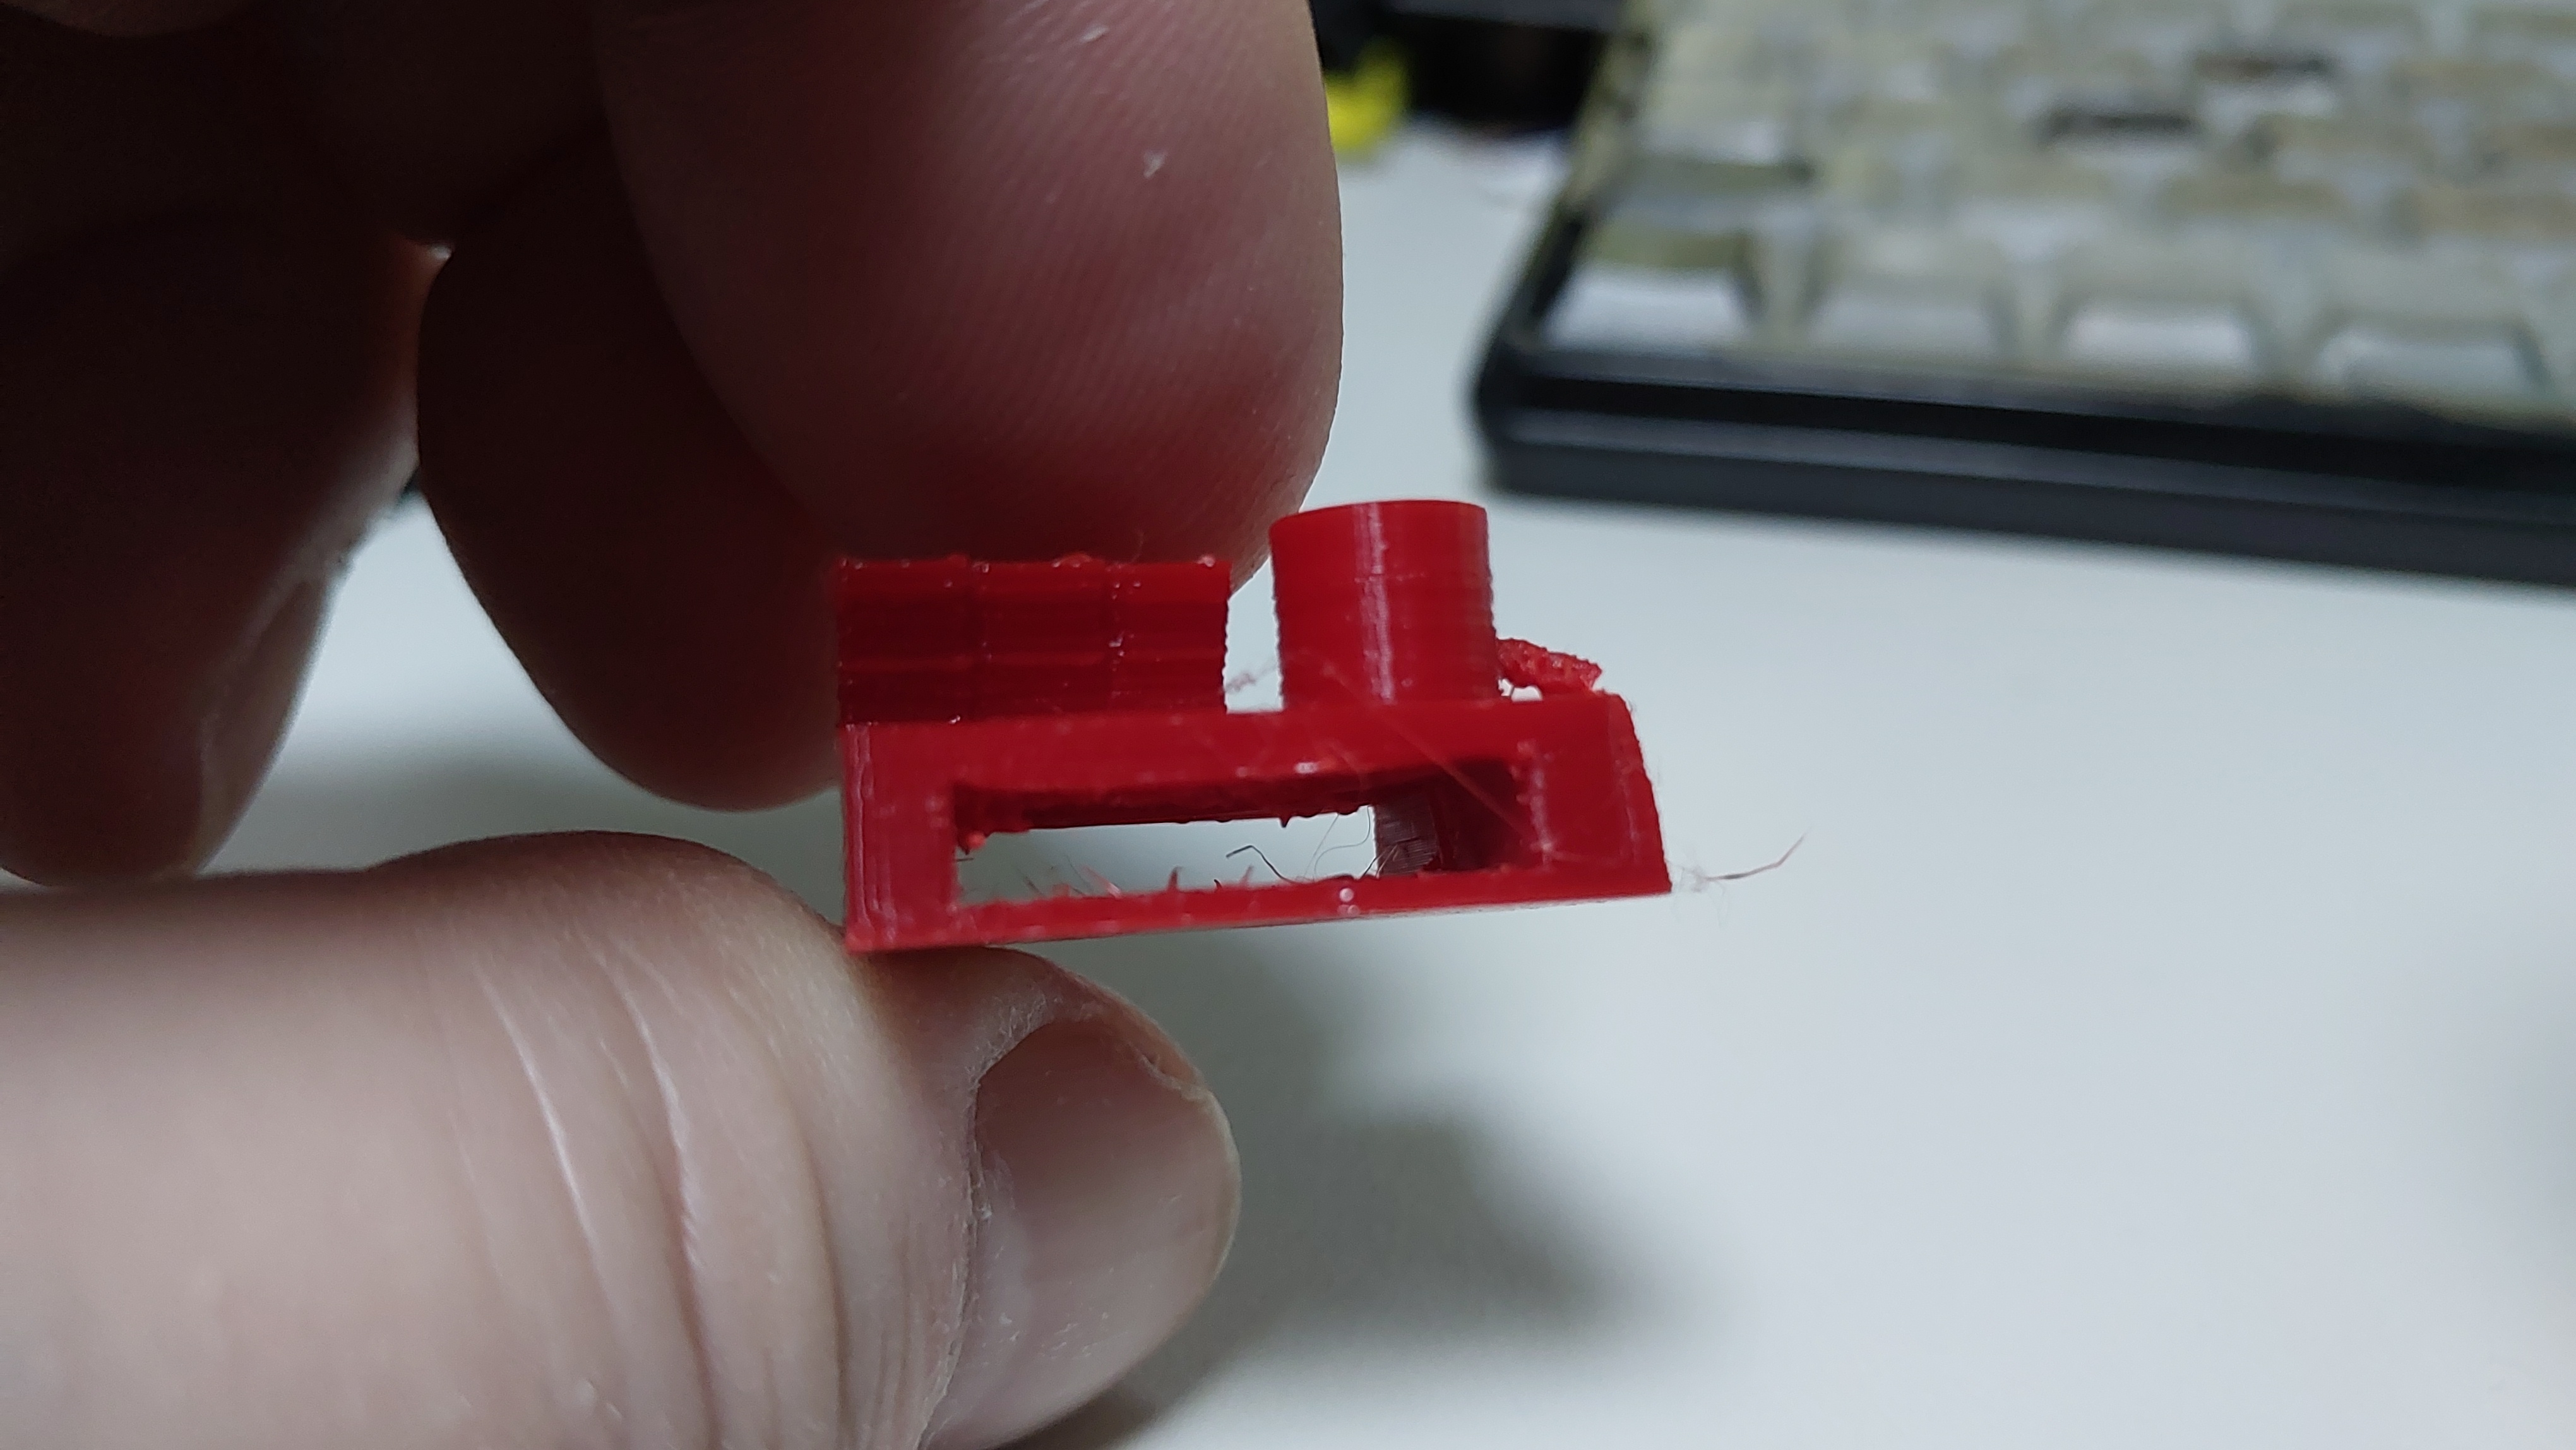
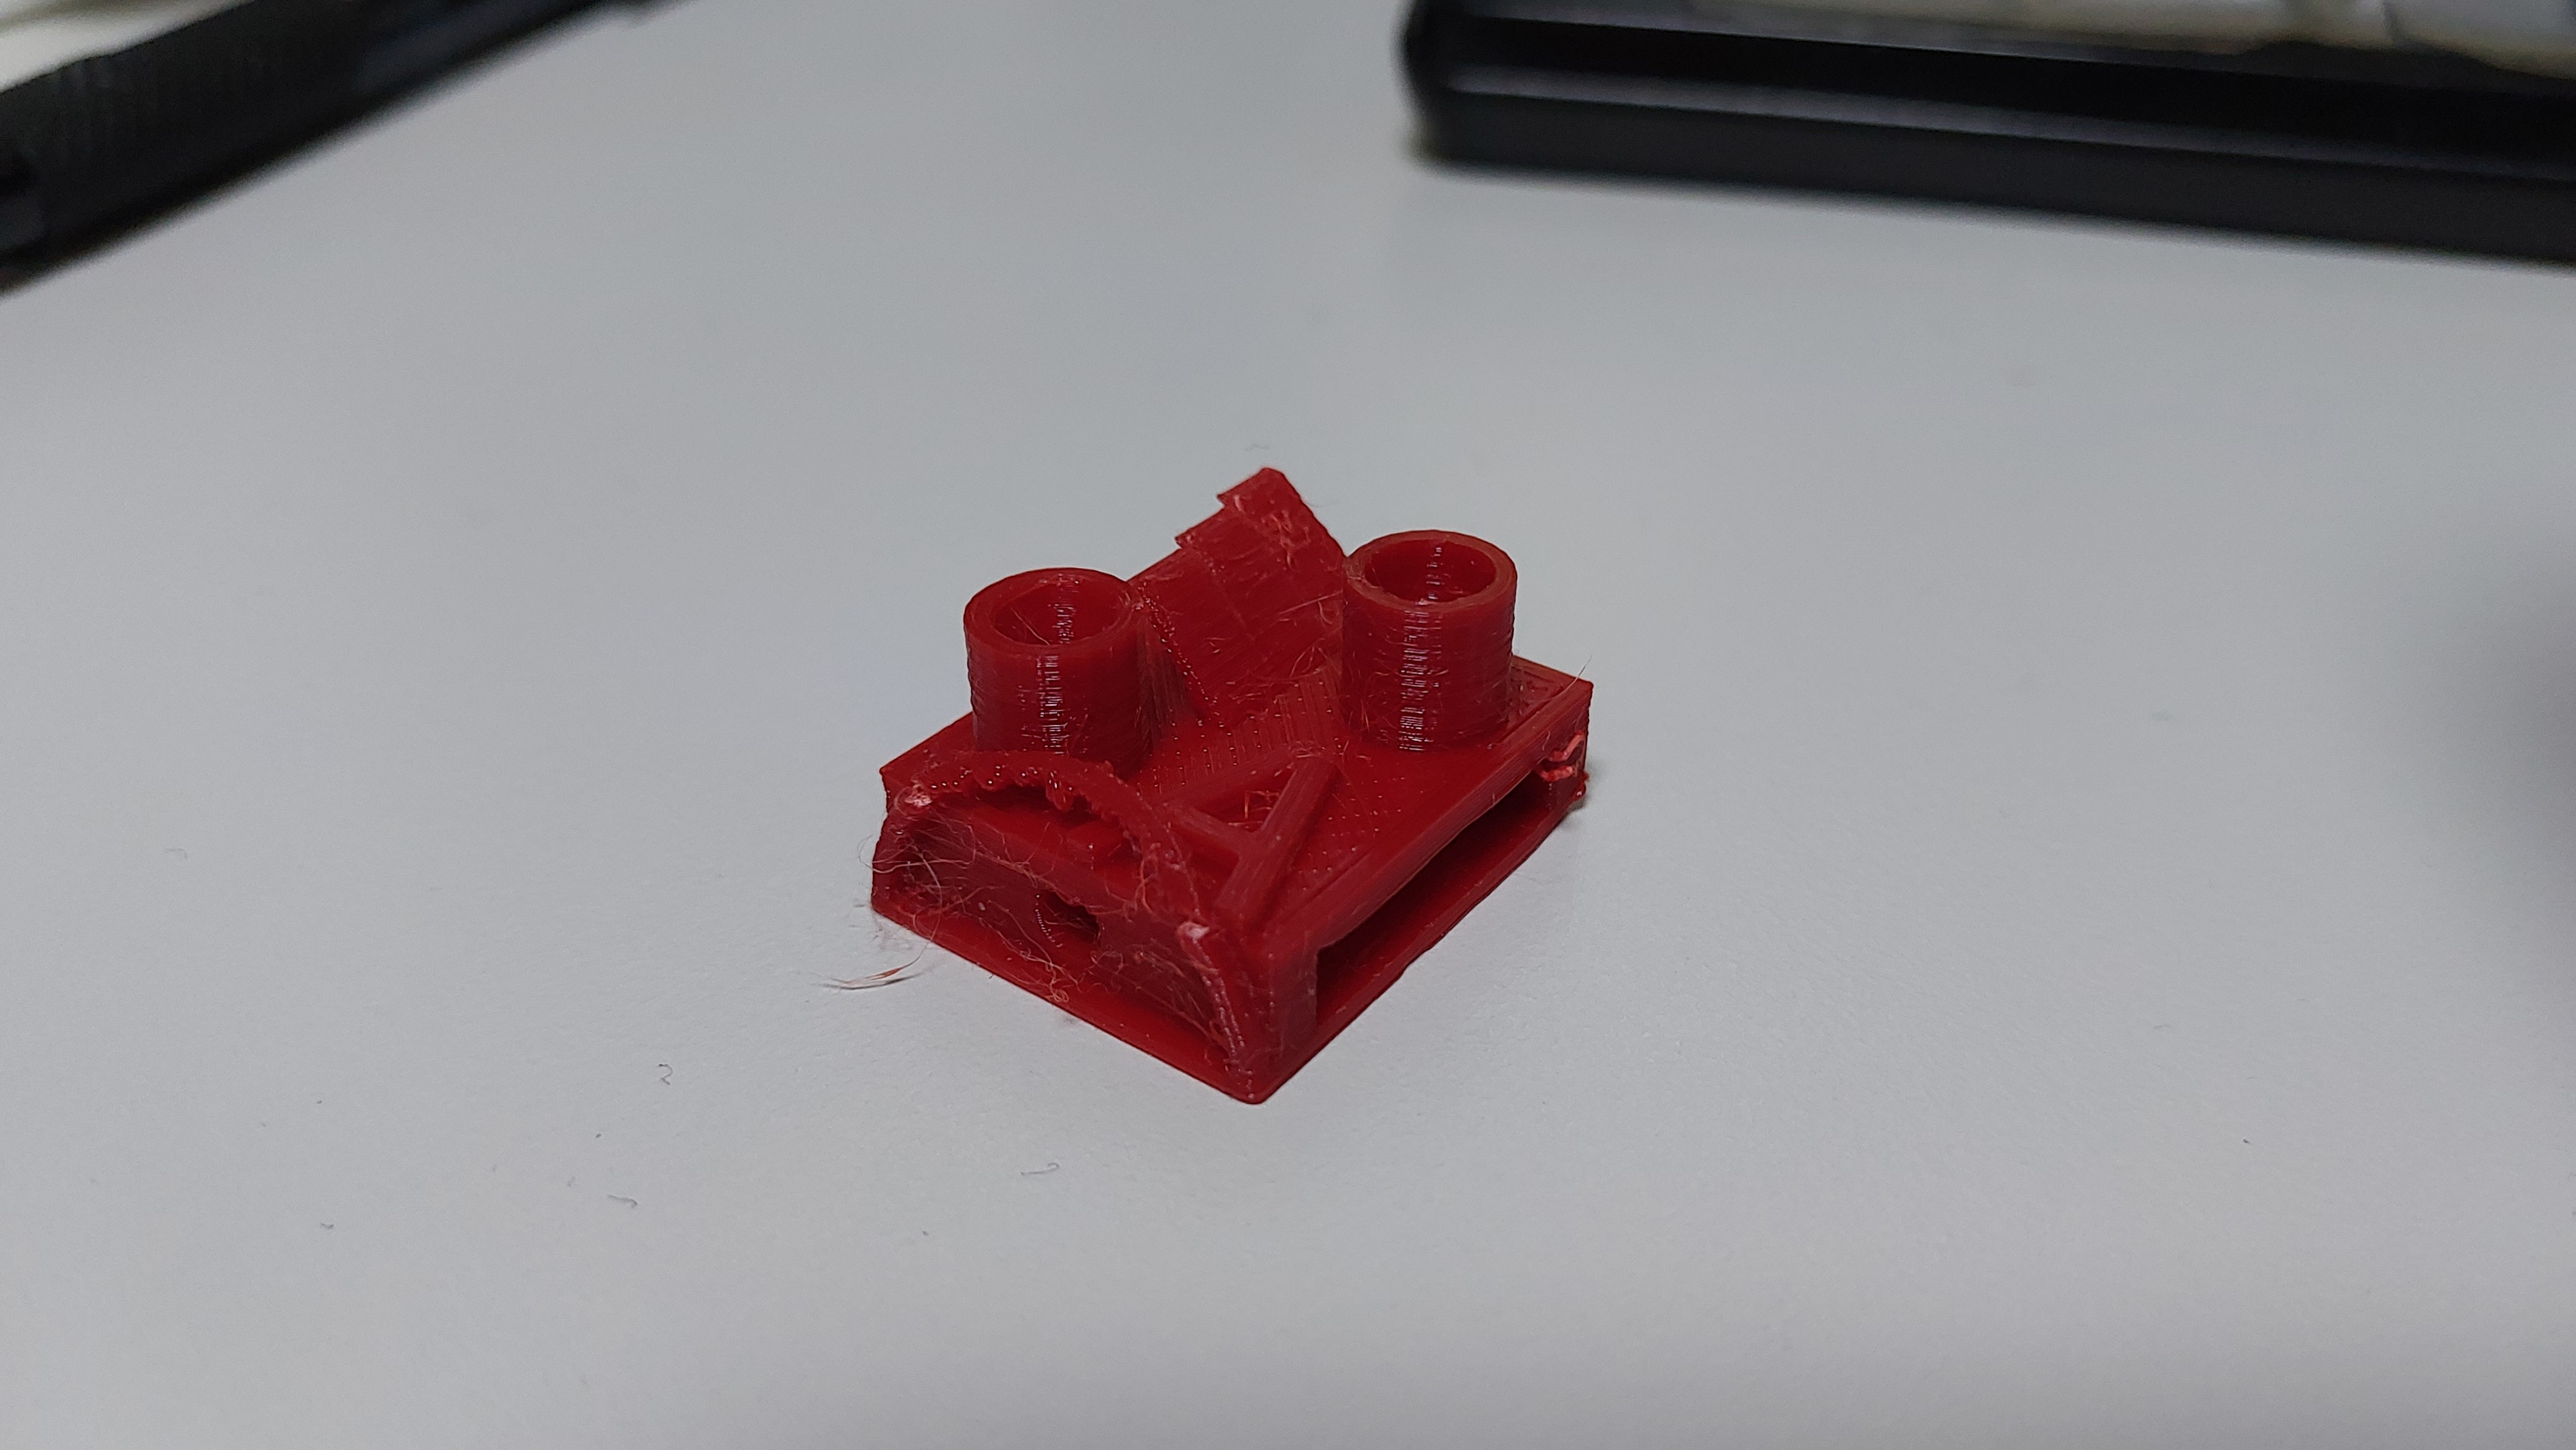
2: As we are talking about short, interim prints between main print jobs, calibration and other test prints. One of these was the Tiny Tester [3], which I used as a test with some new red PLA from eSun. This was a deep red like an English post box and seemed to flow very smoothly, although the bridging was less than perfect; however, detached lower strands of the bridging within the cavity here were easy to remove with a small, sharp blade.
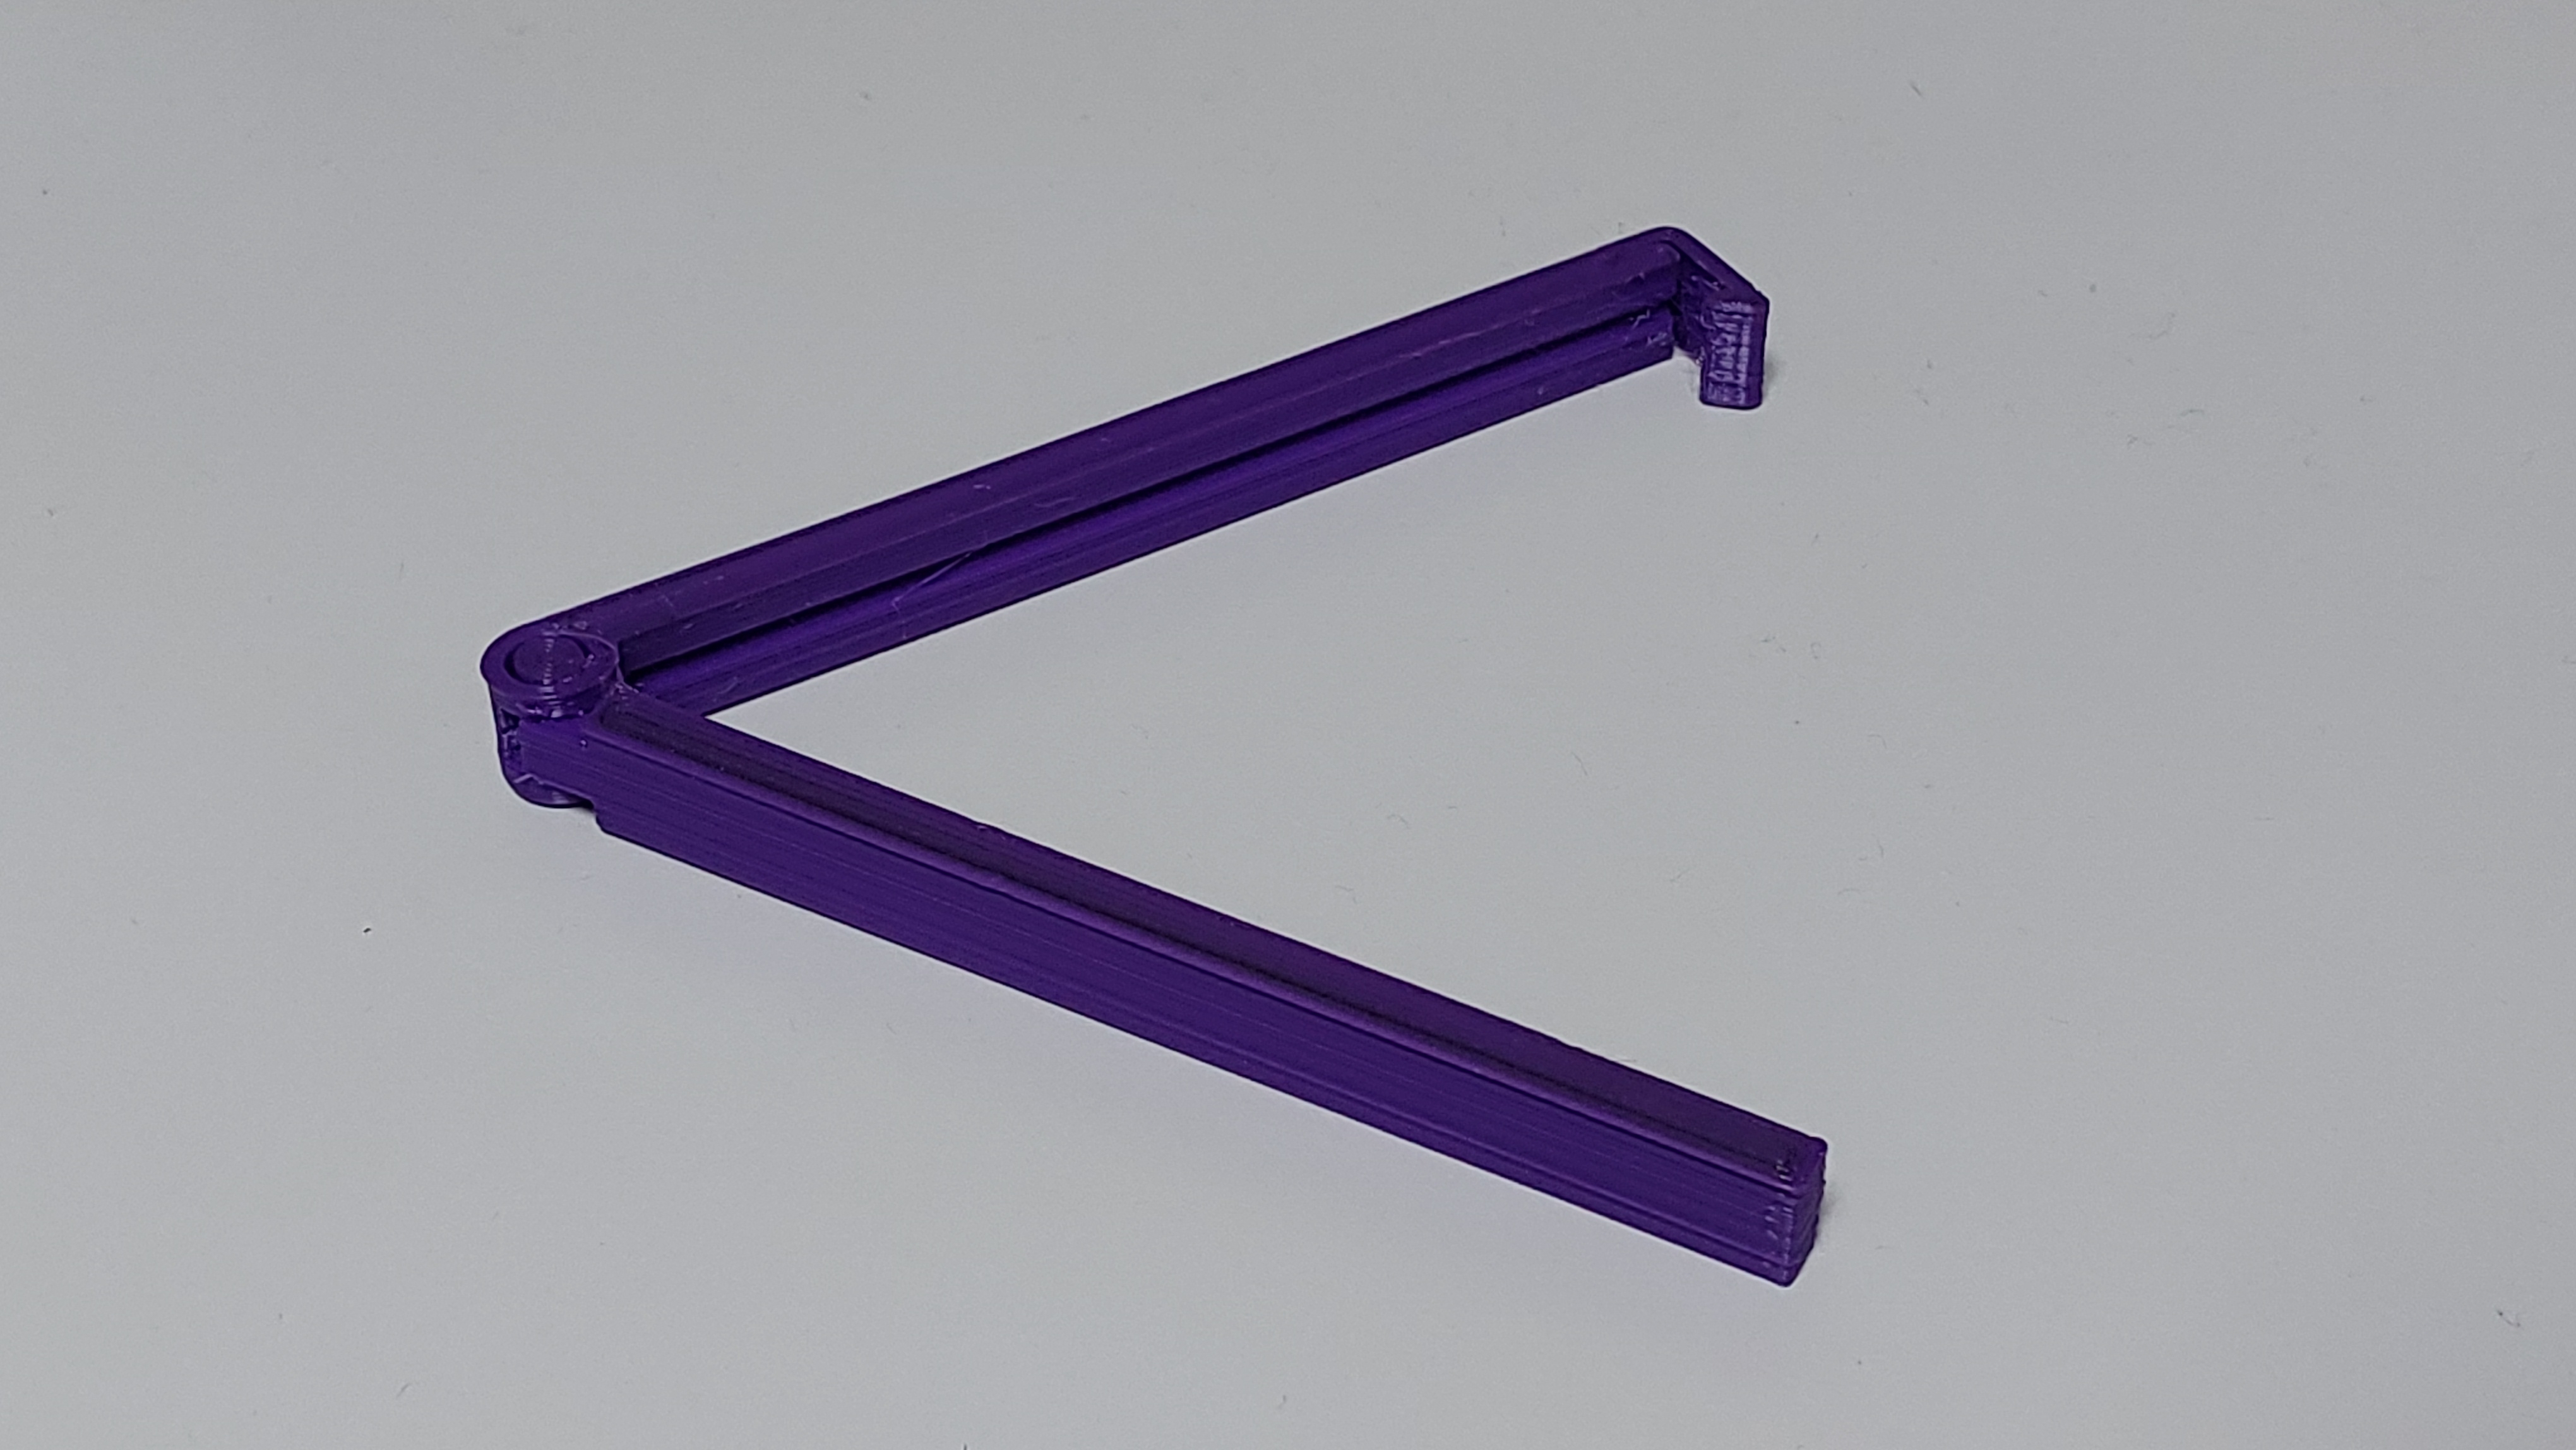
In a similar vein, a calibration print such as Irving Shapiro’s [4] “G-Code for Semi Automated Assisted Bed Leveling” would be a good way to clear residual plastic before a more serious print. There are many STLs available for this kind of function. Thingiverse is your friend!
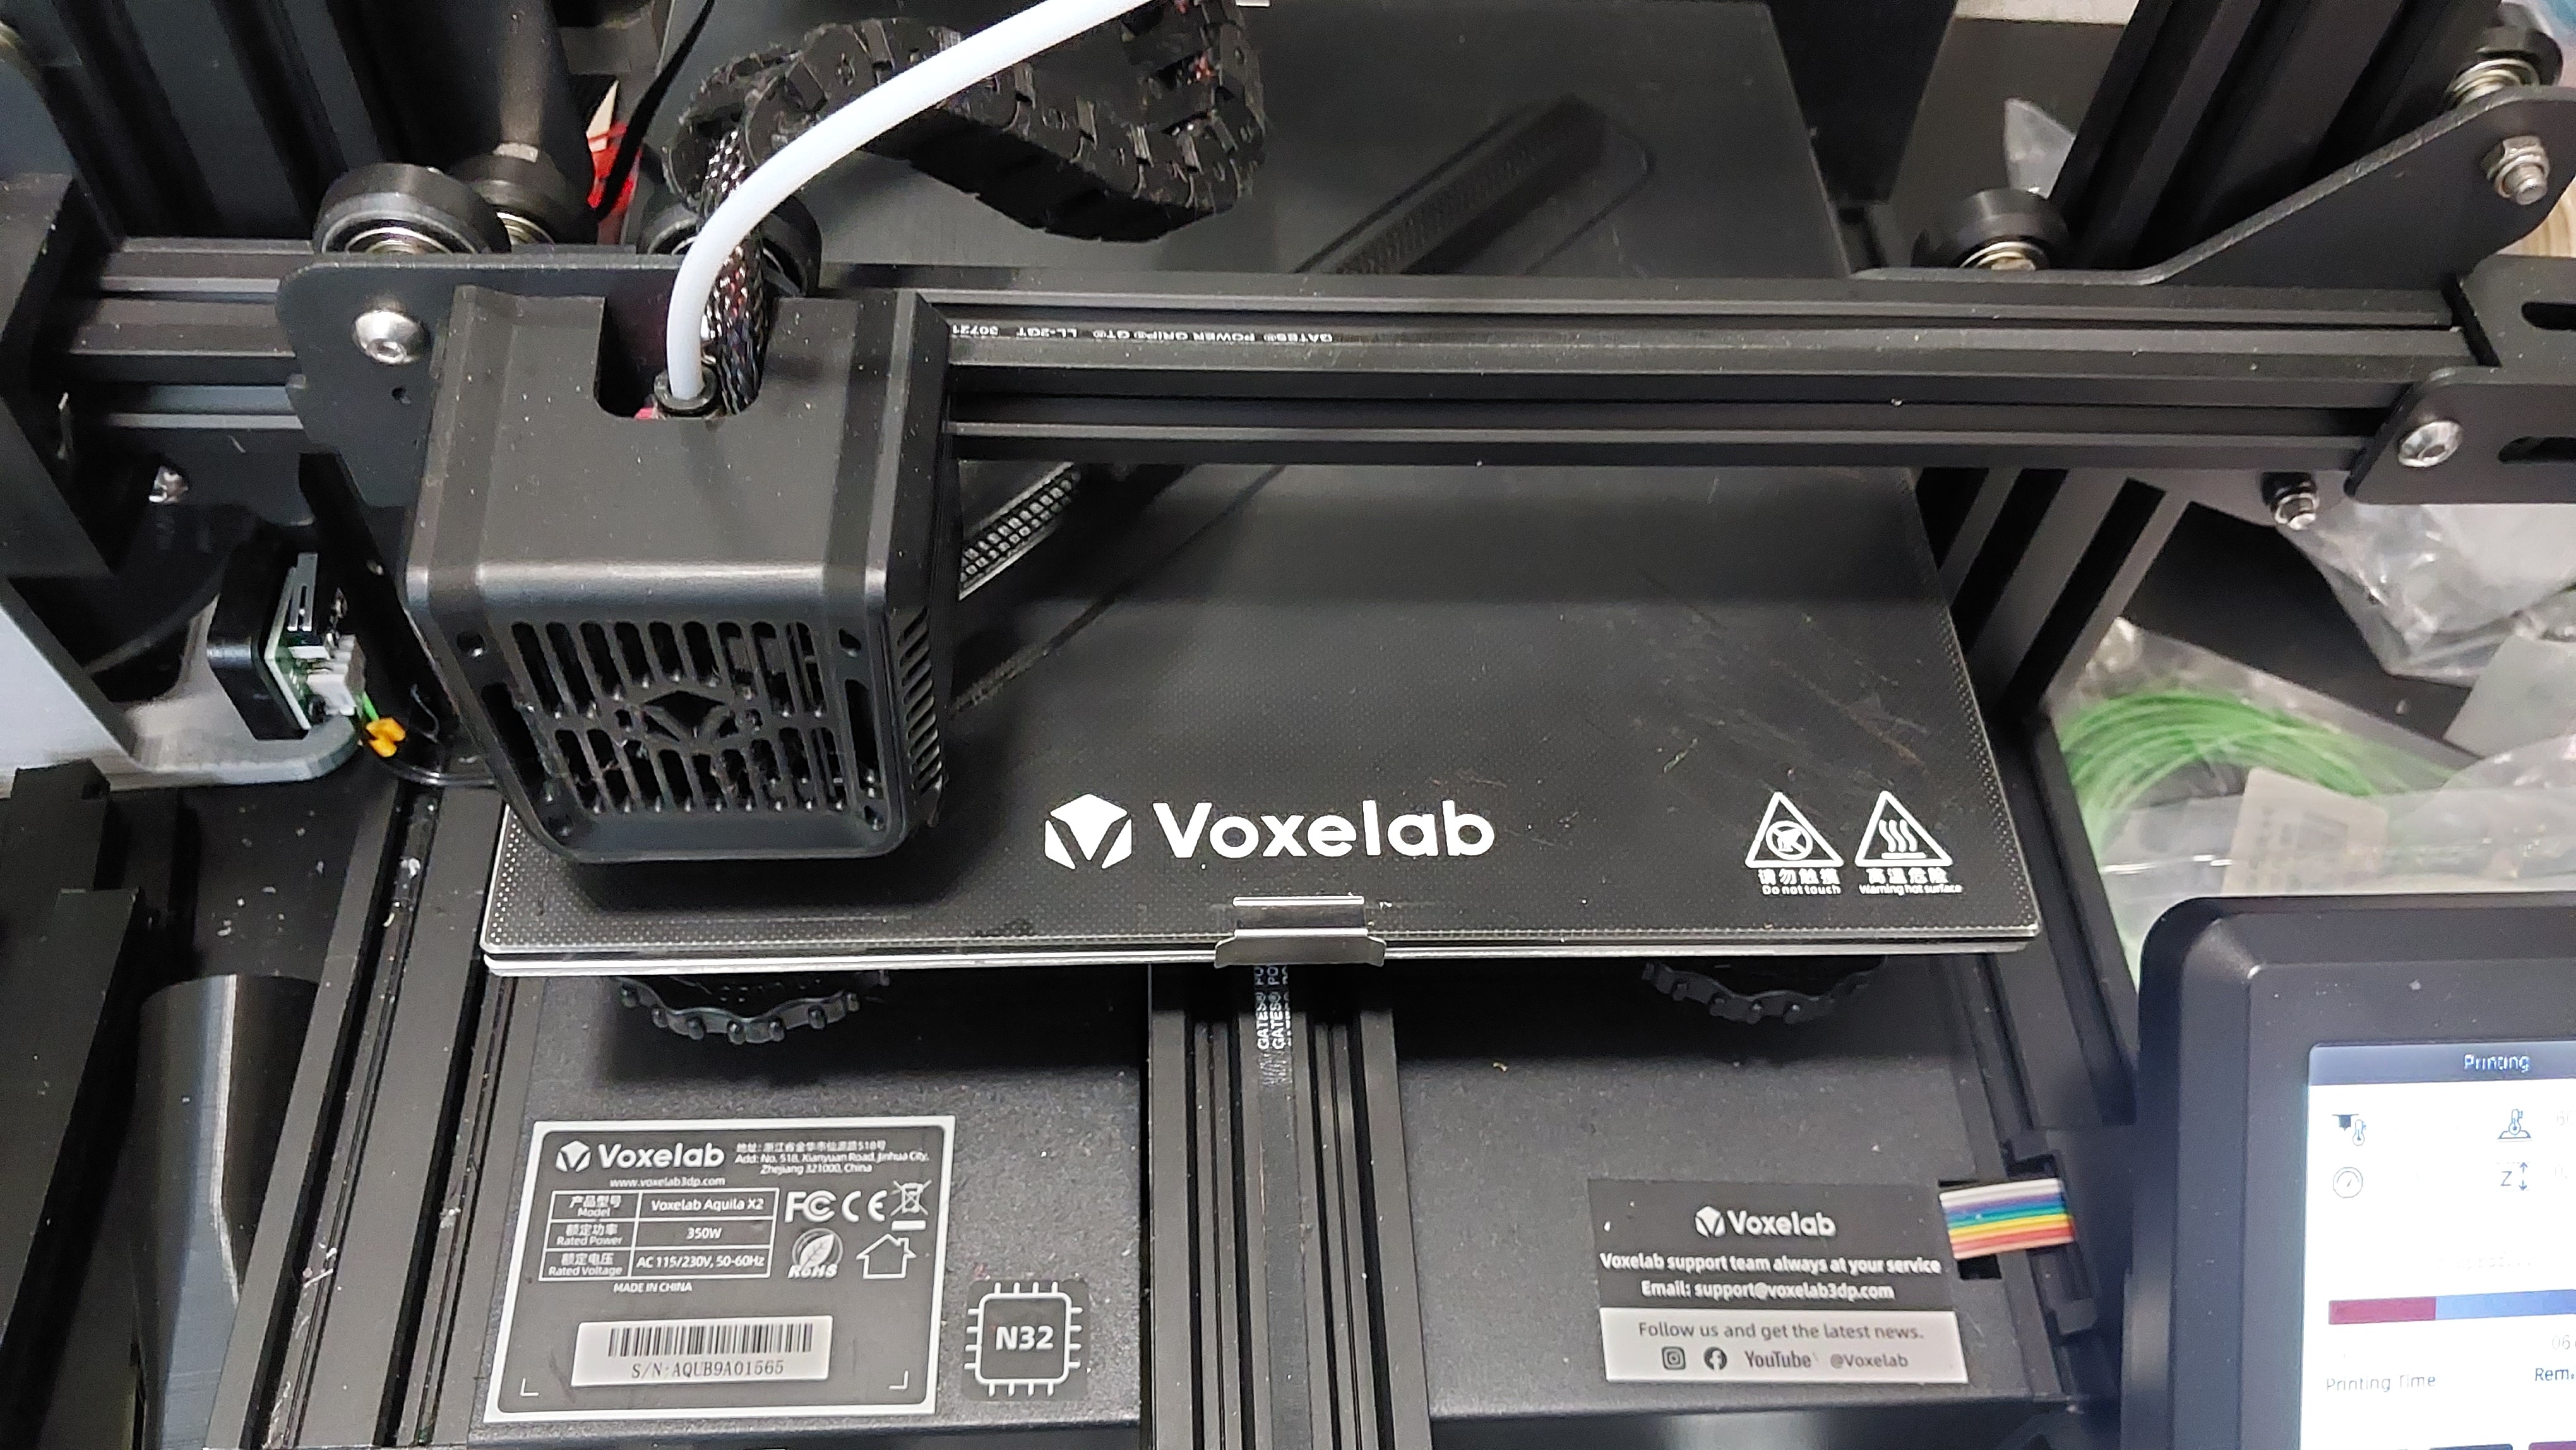
3: Fittings such as, for example, an extruder knob could be used in this way and perhaps the discoloured areas could be sanded down before use [5]. The example here is specifically for the Voxelab Aquila X2 but would probably also fit (say) an Ender 3.
4: Other useful items could include things like clips for sealing plastic bags [6], which do take longer but are very useful in many contexts.
5: One more suggestion might be something like a plastic 608 bearing [7], which, to my surprise, actually works, although I think dry filament would be very important here.
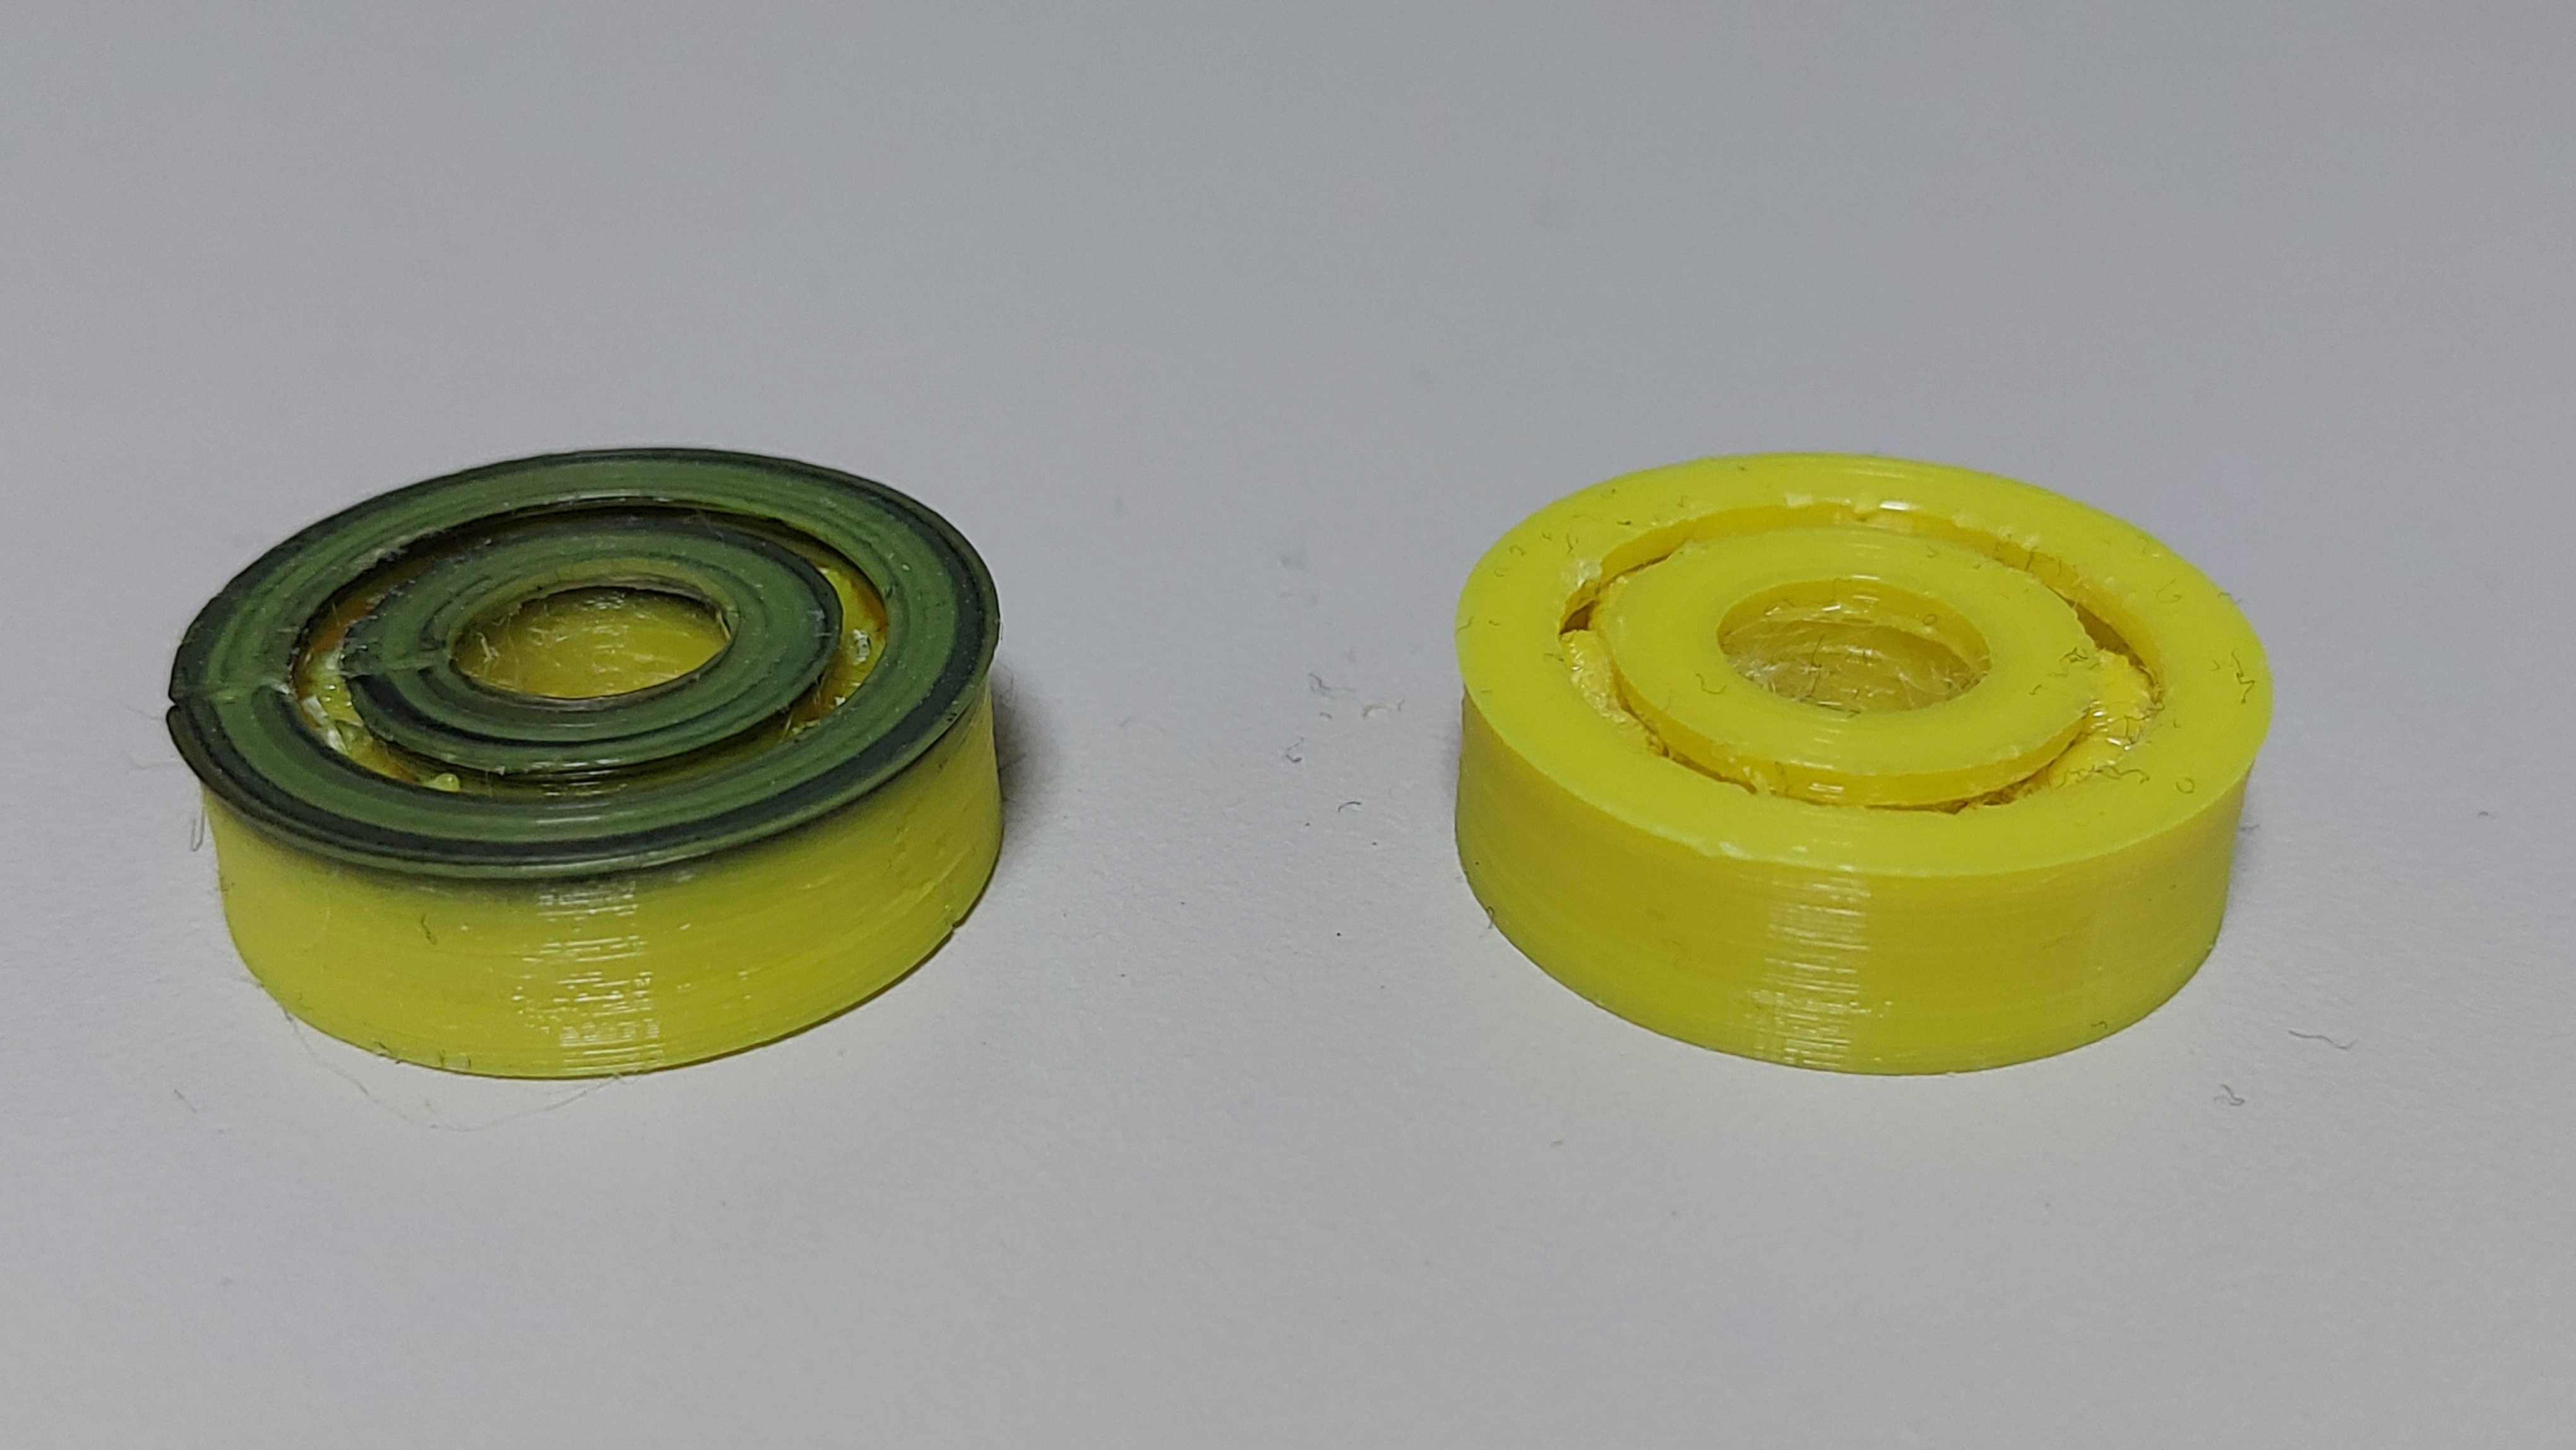
In this example, the flushing item is on the left and the clean example is on the right: however, both worked well, and each took about two hours to print, although presumably this time could be reduced.
As you can see, waste plastic could be avoided by incorporating flushed plastic into a short print job where cosmetic considerations are not important, and by keeping the hot end warm enough, clogging can be avoided. In this way, a lot of small and potentially useful items could be made available for when you need them; or you could take the opportunity for some kind of calibration print to check that everything is fine before the main print. Making such items as these art of the normal workflow has proven very helpful, and shows that waste can be avoided (or greatly reduced) by careful planning.
Examples here are from Thingiverse [8].
References:
[1] https://www.thingiverse.com/thing:4601270
[2] https://www.thingiverse.com/thing:4344700
[3] https://www.thingiverse.com/thing:2253091
[4] https://www.thingiverse.com/thing:4023588
[5] https://www.thingiverse.com/thing:4820979
[6] https://www.thingiverse.com/thing:330151
[7] https://www.thingiverse.com/thing:5978208
[8] https://www.thingiverse.com
We are 100% funded for October.
Thanks to everyone who helped out. 🥰
Xephula monthly operating expenses for 2024 - Server: $143/month - Backup Software: $6/month - Object Storage: $6/month - SMTP Service: $10/month - Stripe Processing Fees: ~$10/month - Total: $175/month